Pick a photo. This one works for me!
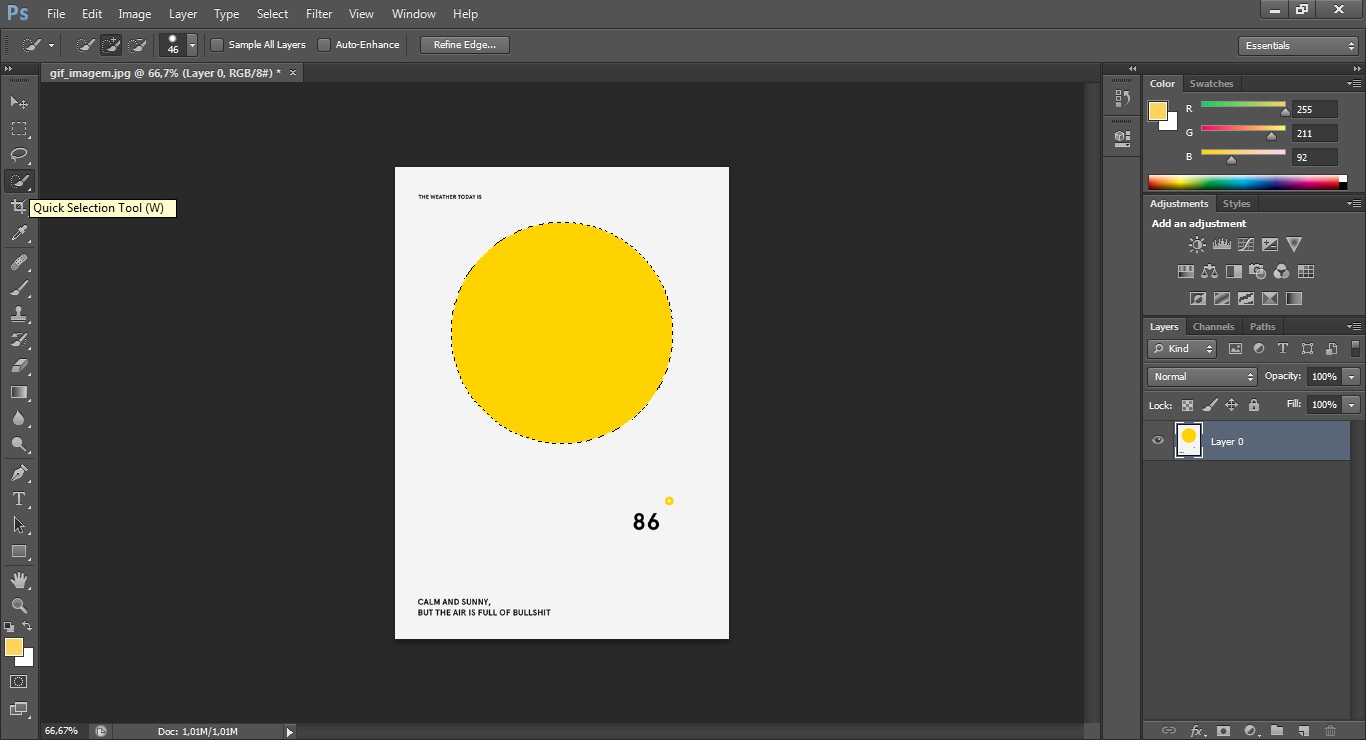
1. First of all, and after unlocking the layer (explained in previous tutorials), select the area you want to make a gif with, like the big yellow circle.
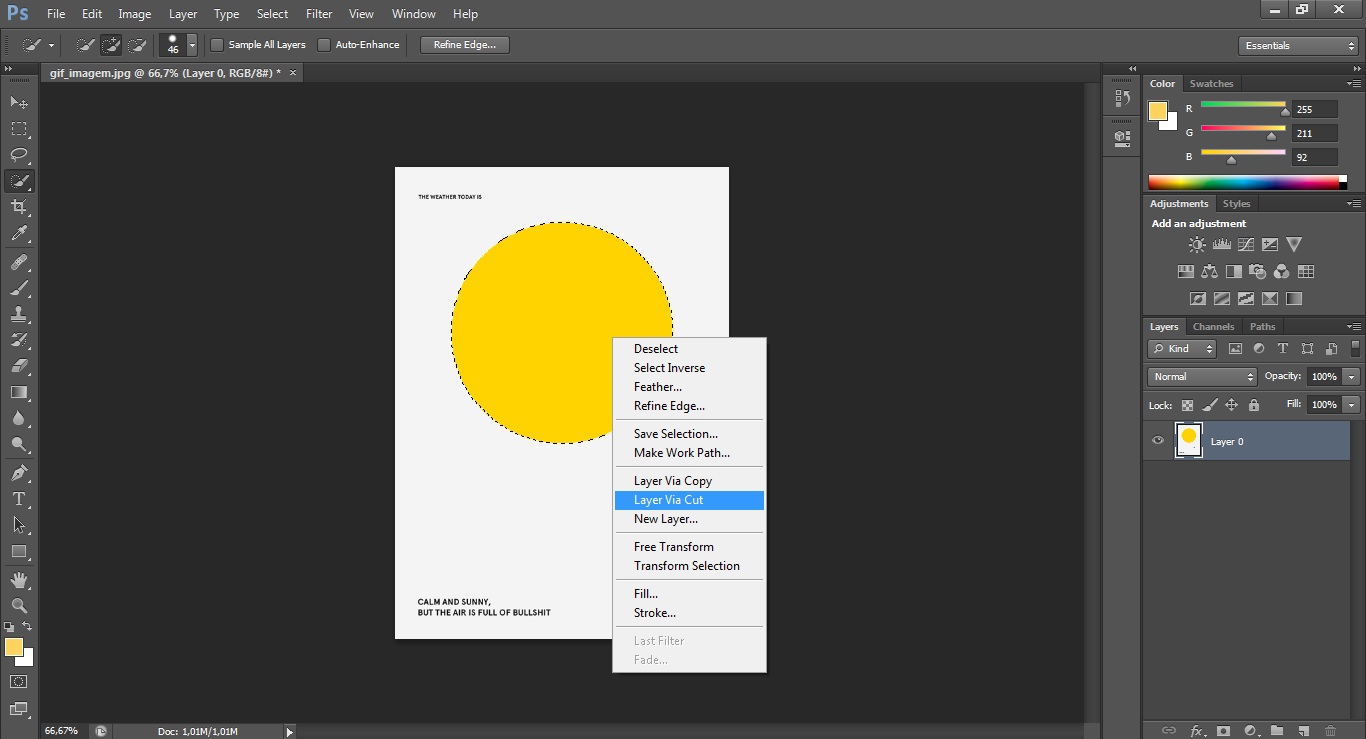
2. Now, creat a new layer via cut (right-side of mouse over the selected area).

3. We have two layers now. Next, you need to go to Window, in the bar above the image. Click and choose "Timeline".
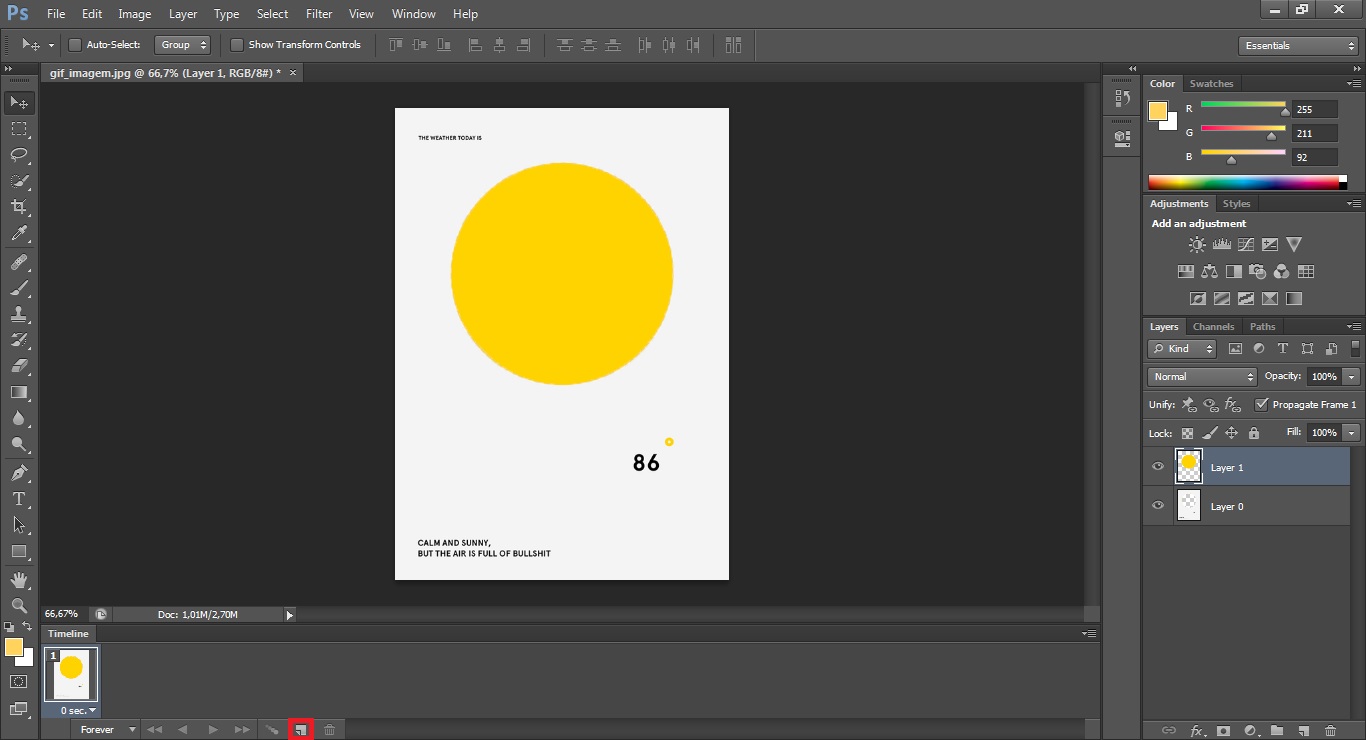
4. So, a timeline has appeared with the first frame, which is the current visible layer. Creat a new frame, as indicated in the image.
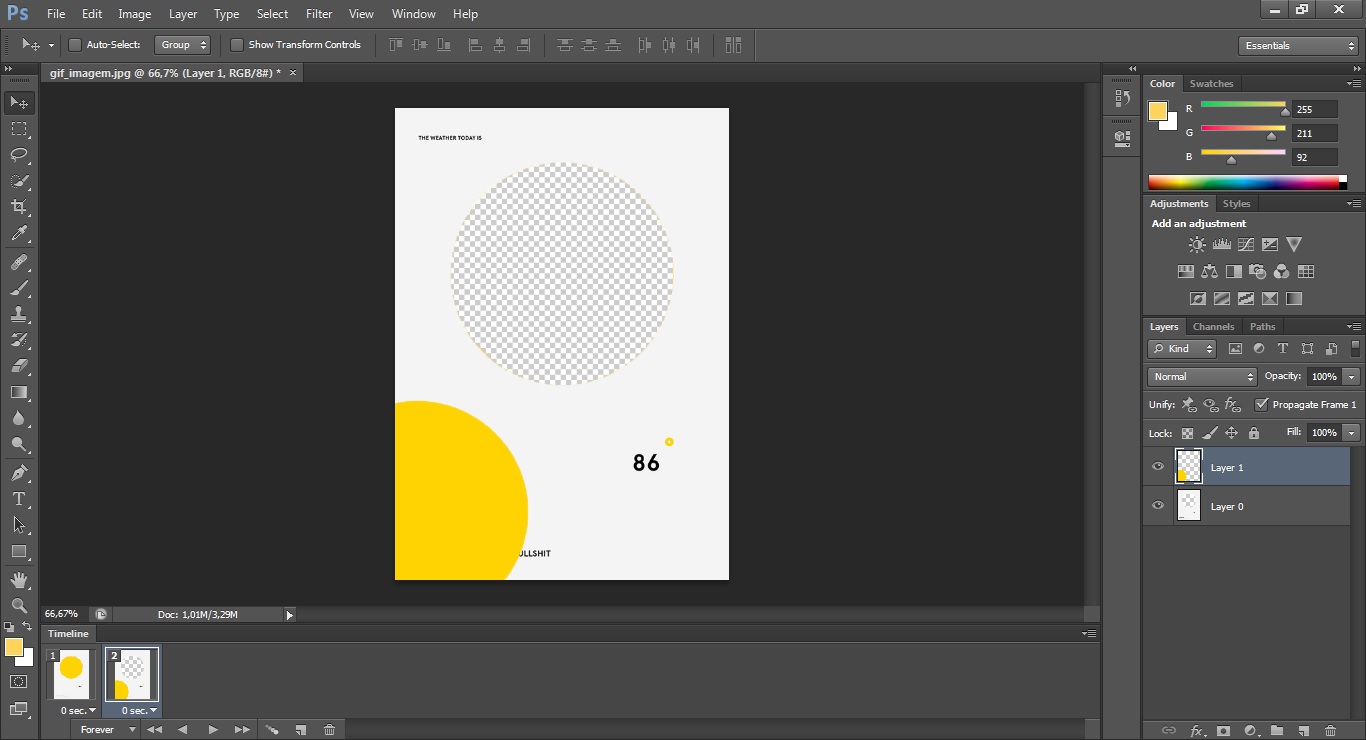
5. Now that you have the second animation frame, drag the yellow circle to somewhere you want.
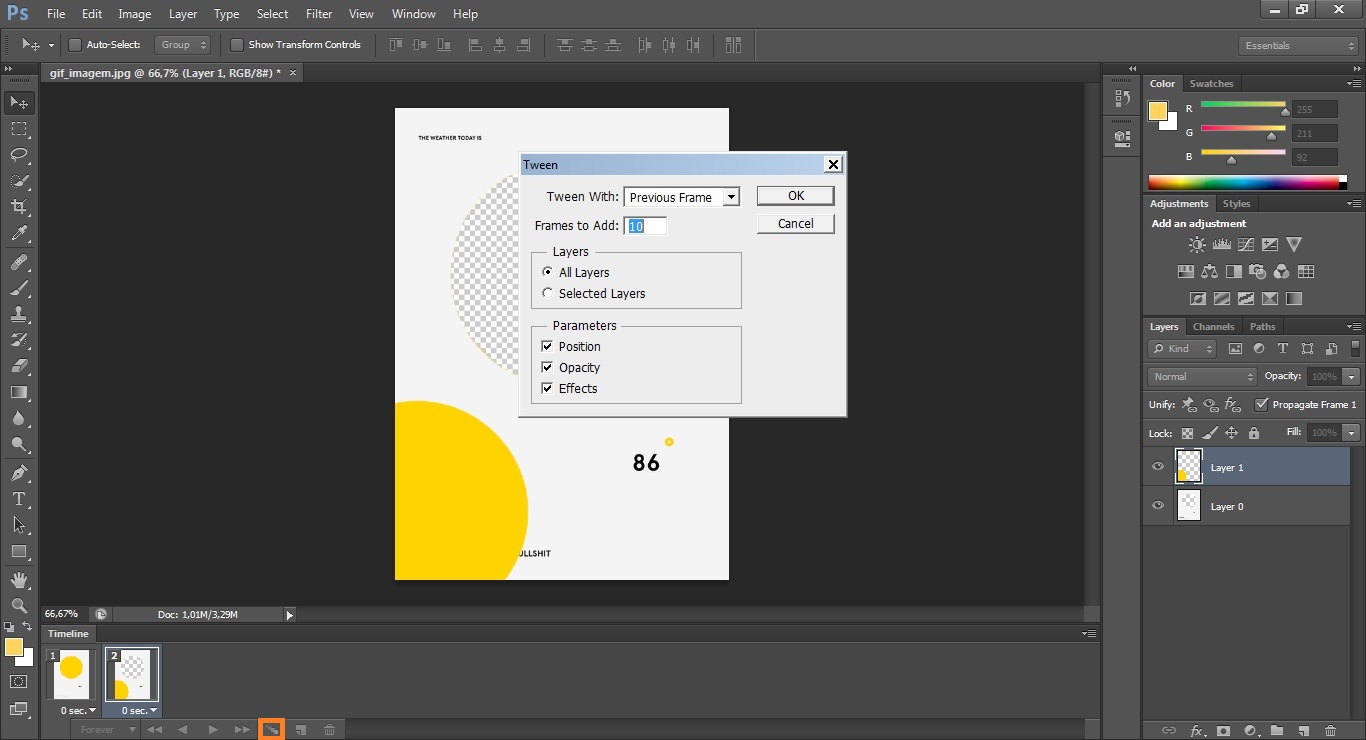
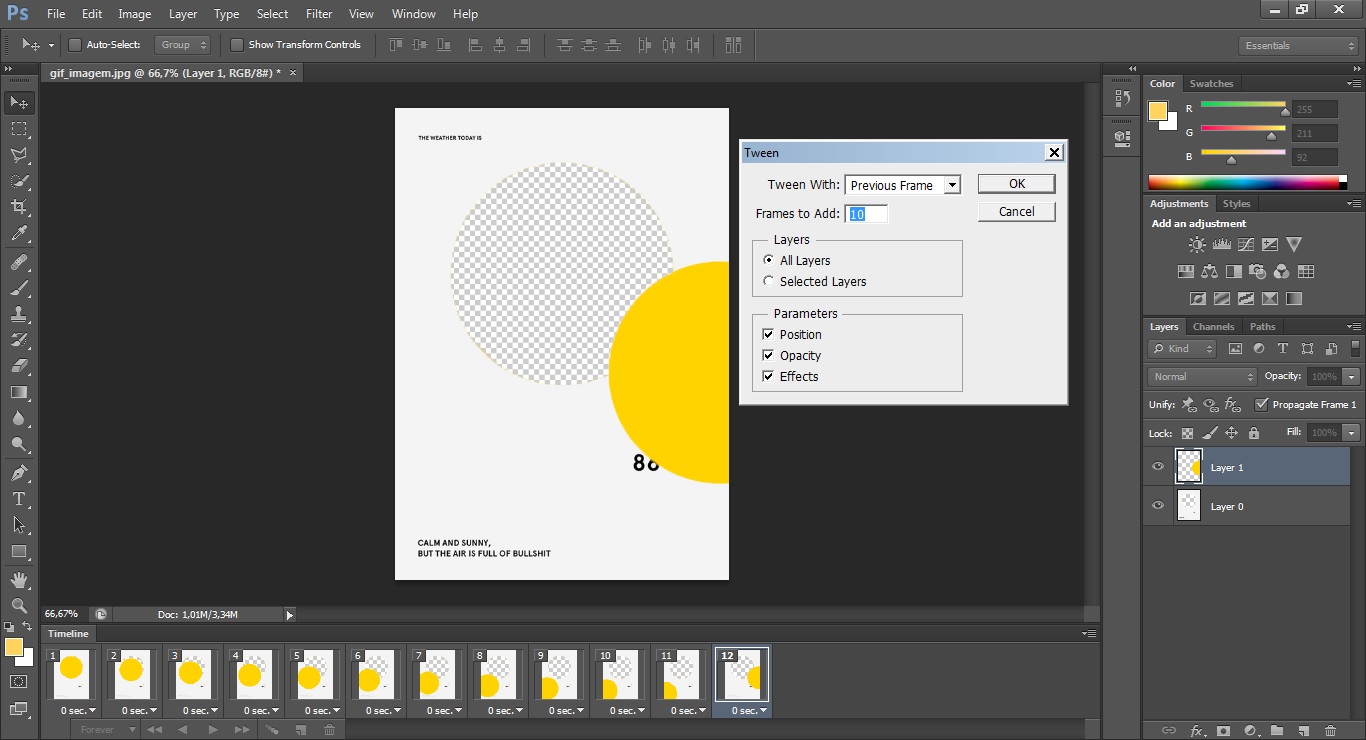
6. After dragging the circle, click 'tween animation frames' and a window is going to appear. I recomend you to choose 10 frames, but you can choose another value.
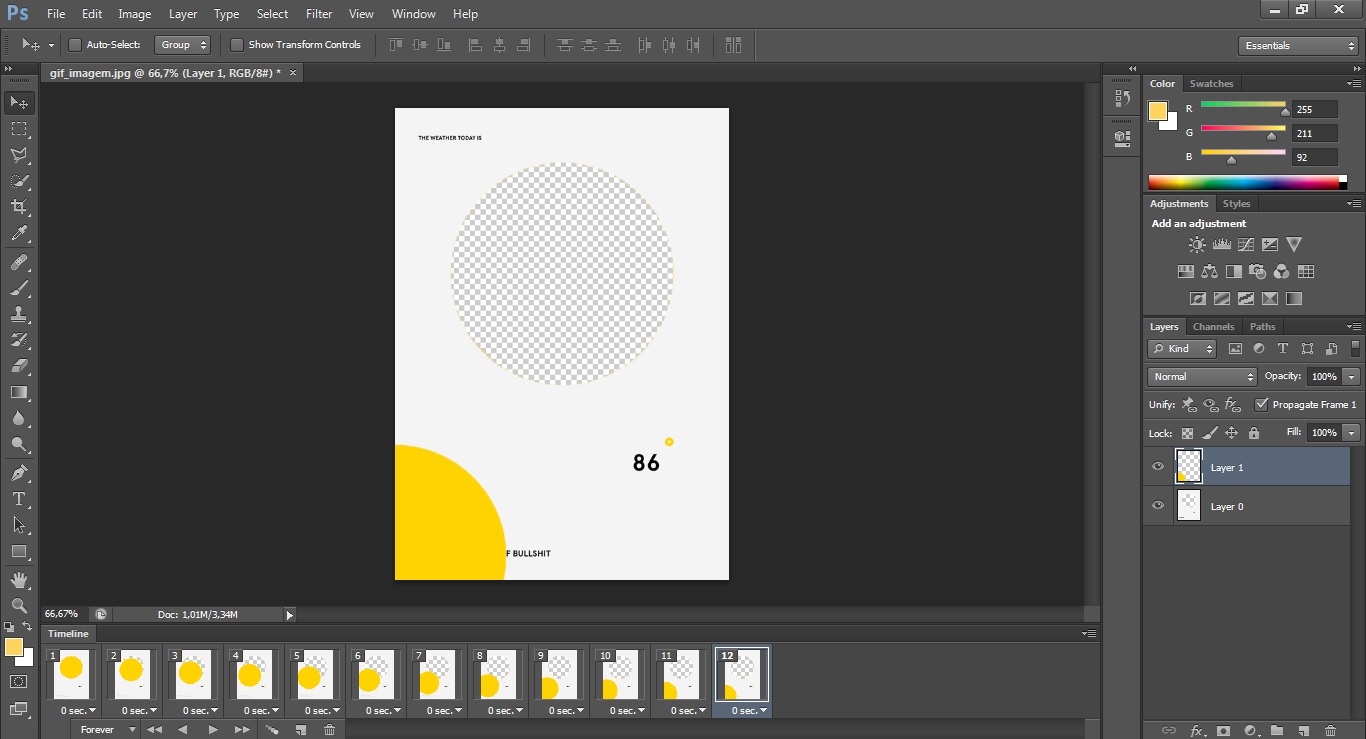
7. You can see that 10 new frames were created. Now you just have to choose where do you want to continue with your object, doing the same steps (first drag, then tween animation frames).
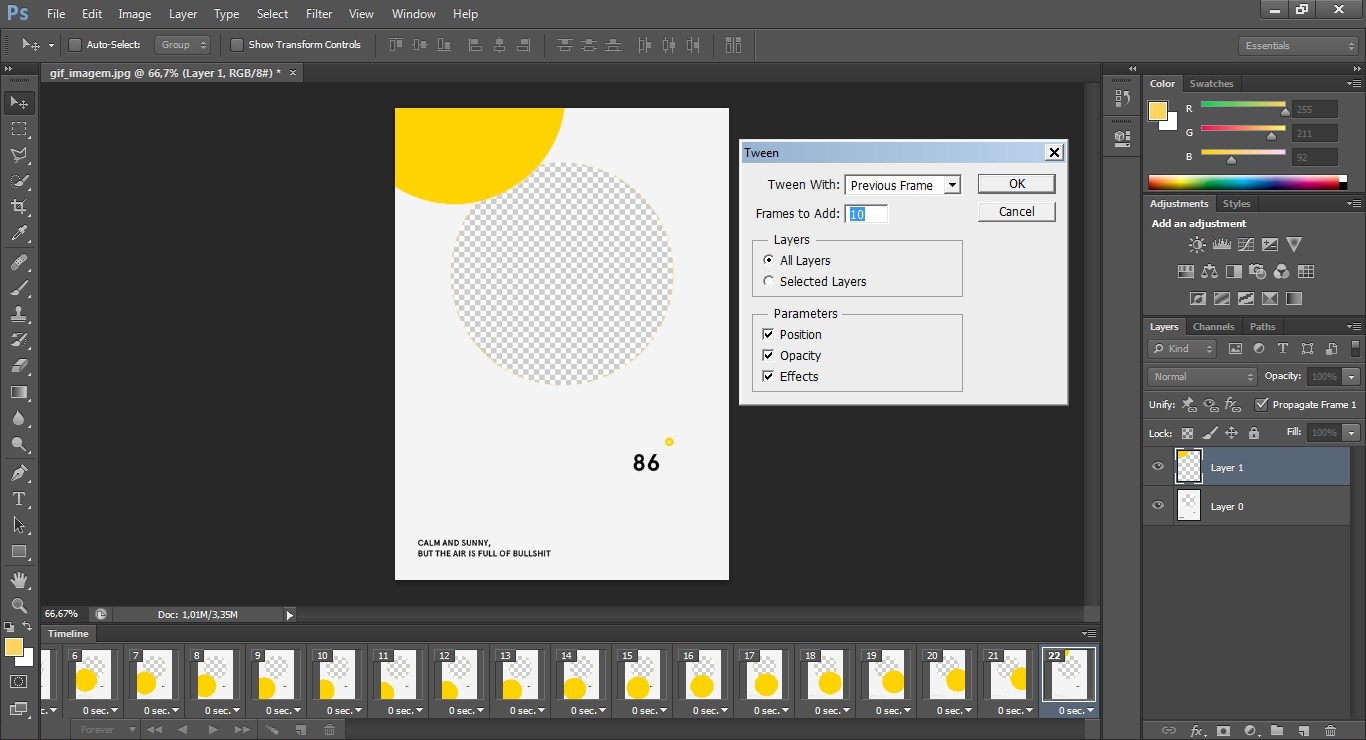
8. Drag and tween...
9. Drag and tween.....
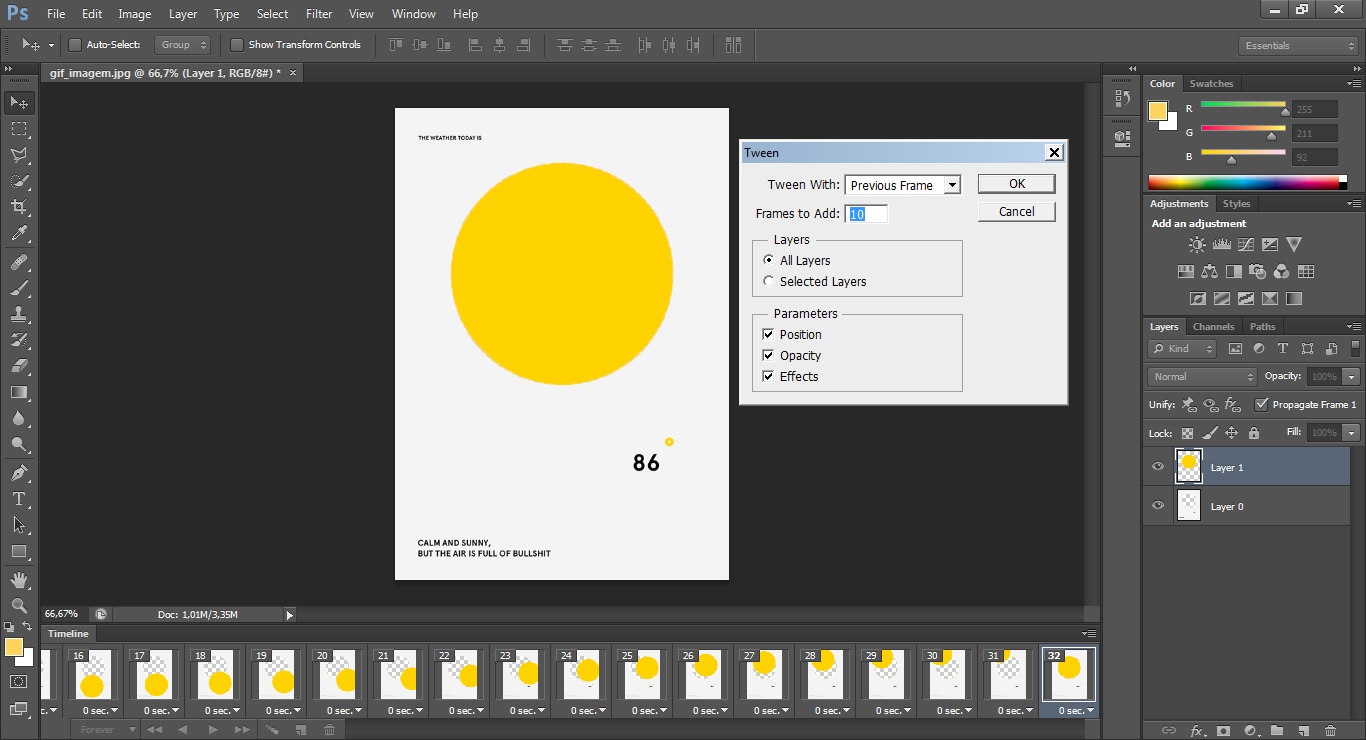
10. Drag and tween....... Back to the place where it started!
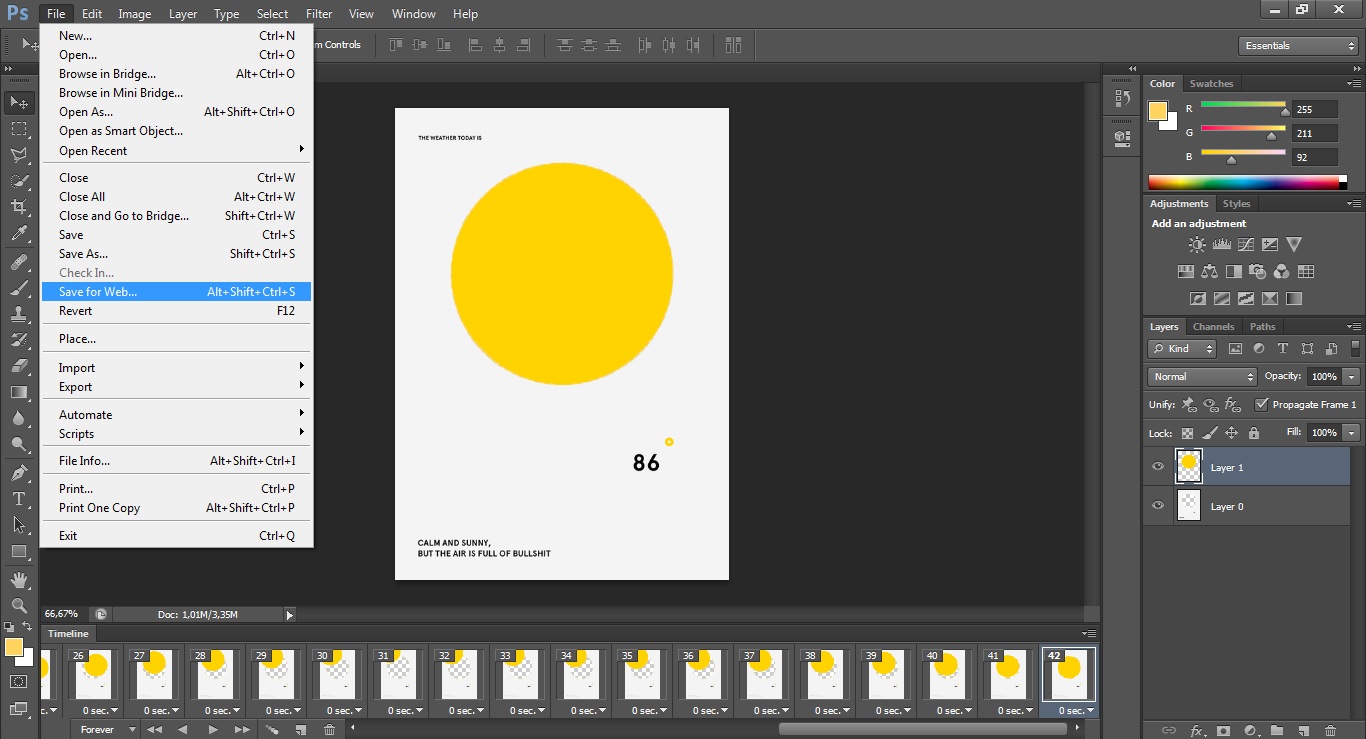
11. Next, you need to save the gif for web. Go to the menu, choose "Save for Web...".
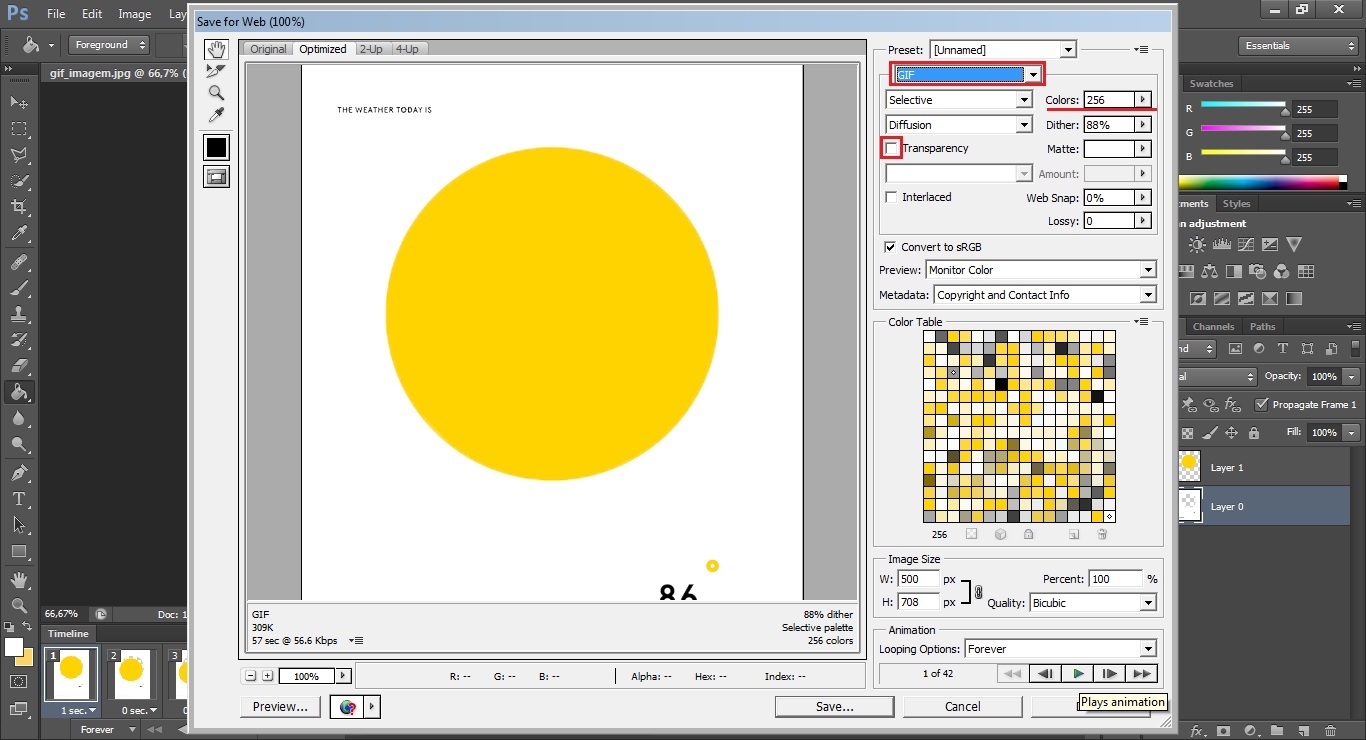
12. This window is going to appear. You can choose different number of colors, set transparency if you want to, and don't forget to set GIF as it's indicated.
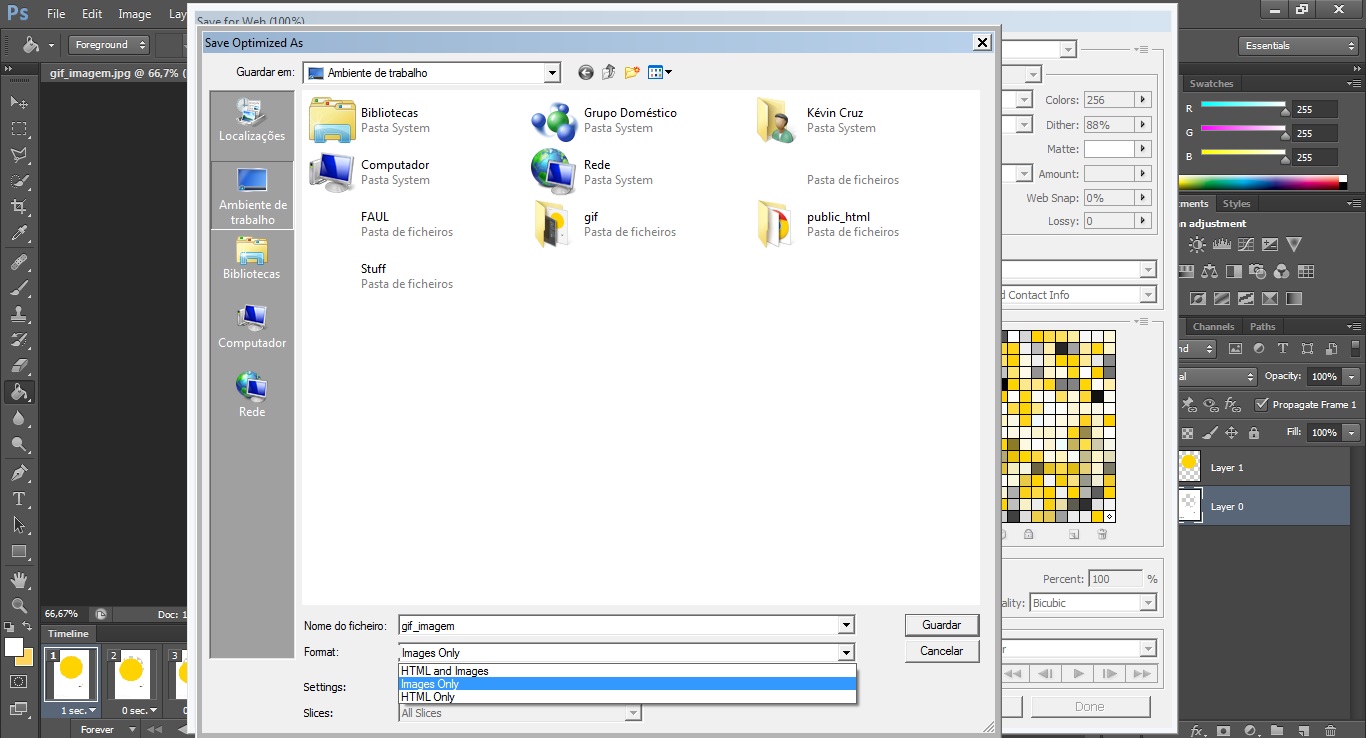
13. While saving, choose de "Images Only" format. You gif it's saved!
Here's the final result: