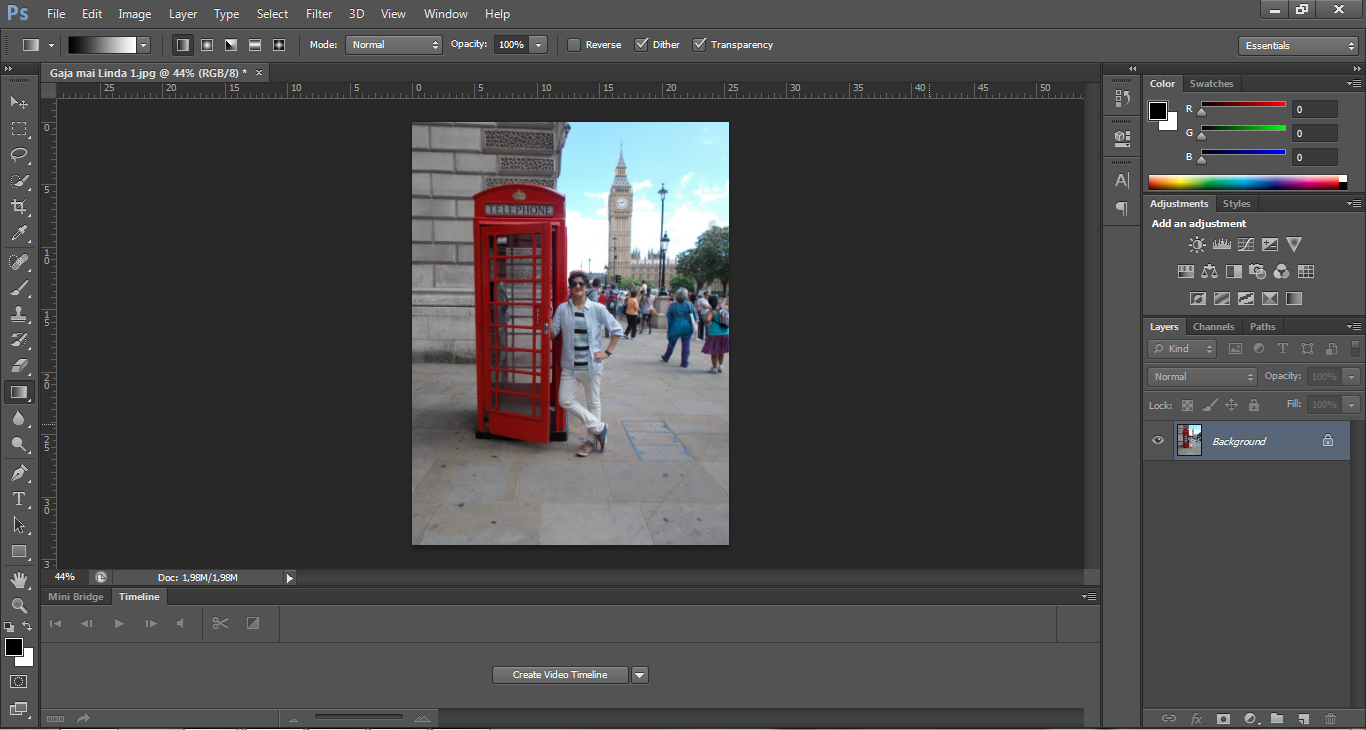
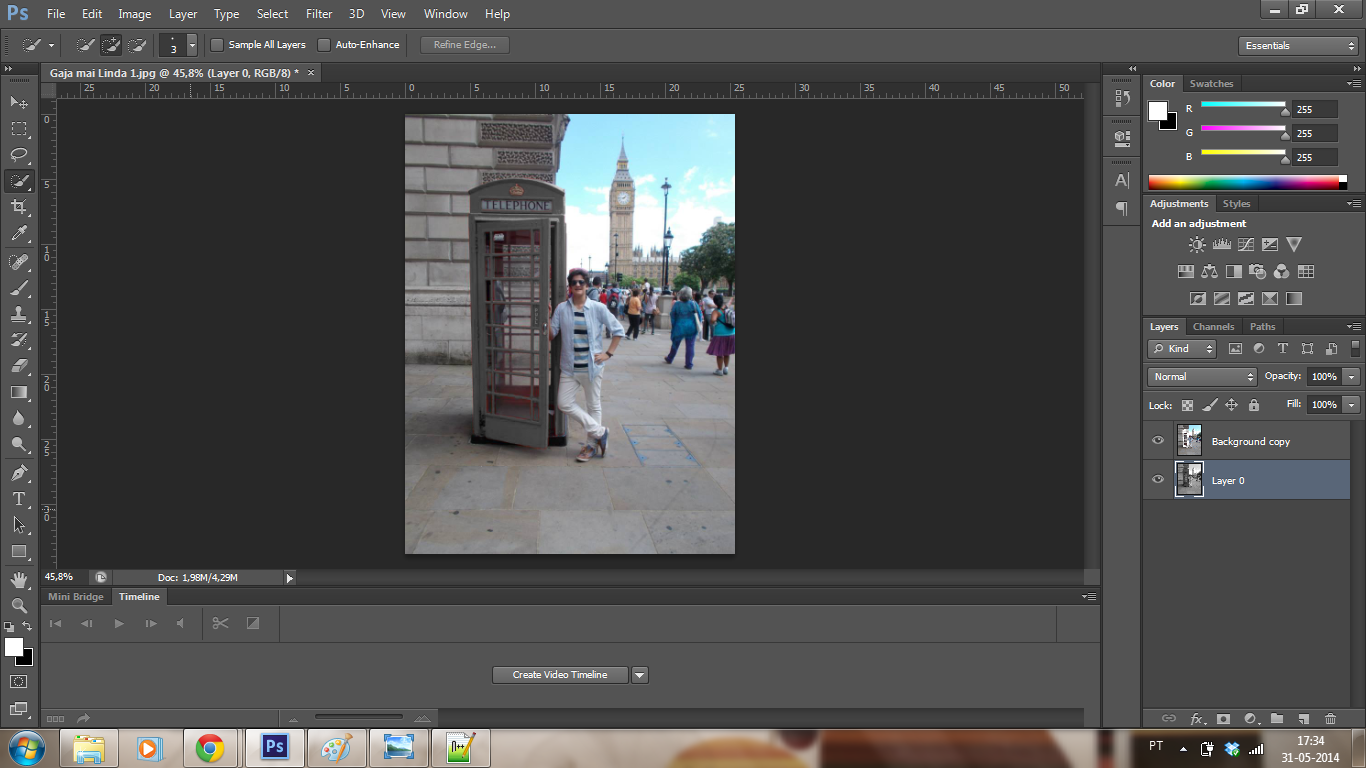
Start by choosing the image you want to work with. Go to File > Open...
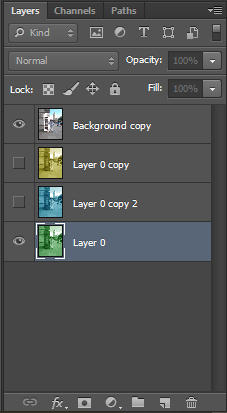
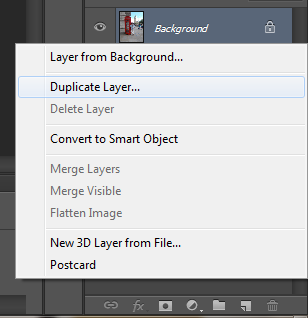
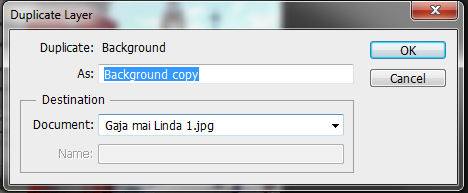
Duplicate your background image by clicking over the layer with your left button and selecting Duplicate layer...
In the dialogue box select OK
Choose the Quick selection tool from the tool menu and start selecting the object in which you want to keep the color. This process might take a little while, but be patient and make sure the limits of it are well defined.
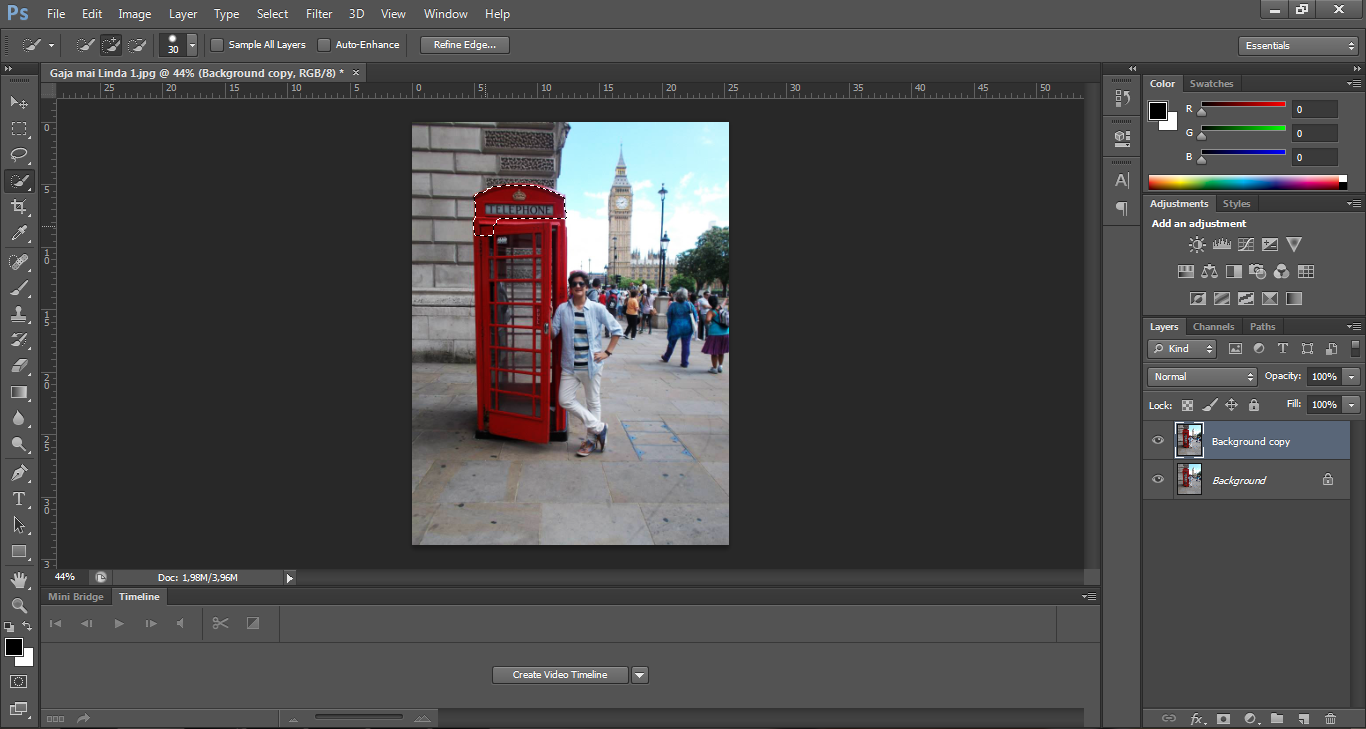
Zoom in and zoom out as you go, to make the selection easier. For this exercise in particular, it is important that you try to select ONLY the color that you wish to replace. Leave all the other things out.
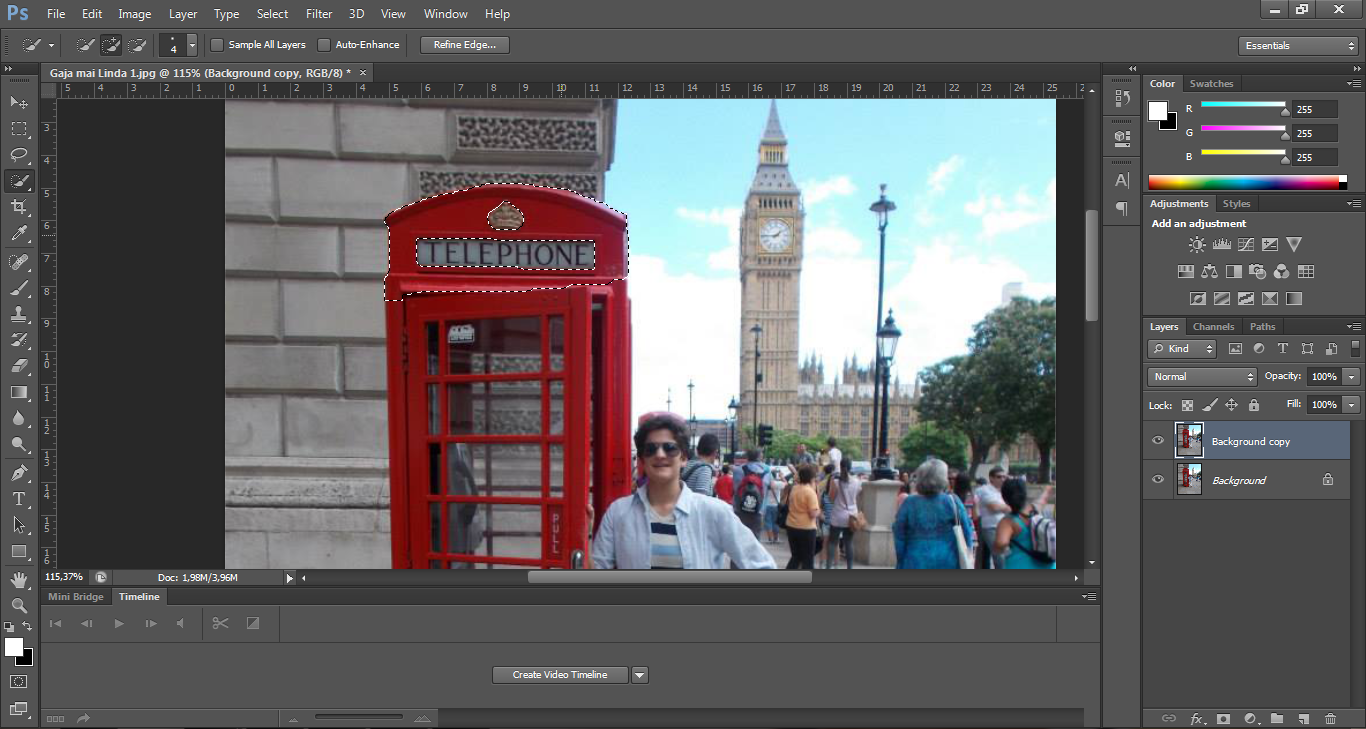
Things like windows and door handles were left out of the selection. After having your object selected, click over the selection with the left button and choose the "Layer via cut..." option.
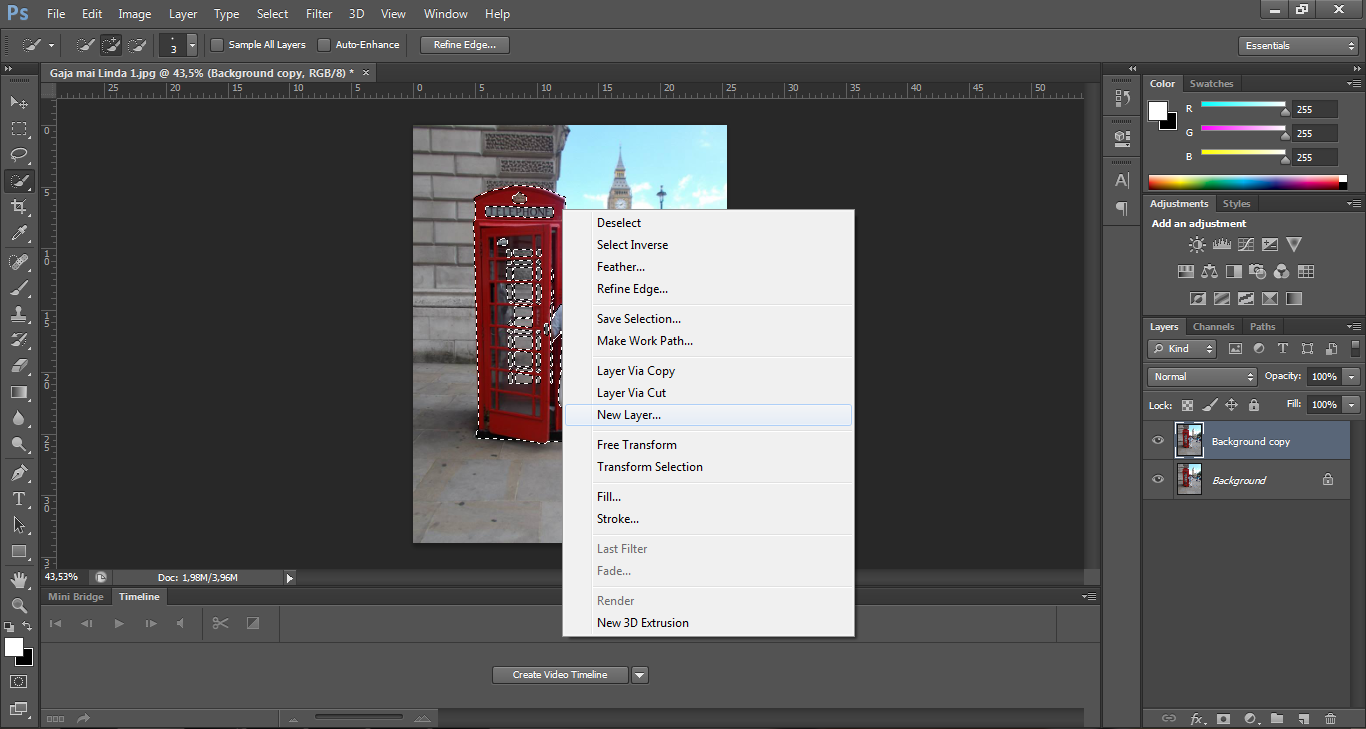
You will be left with an extra layer which you can discard. The image will still appear to have been unaltered.
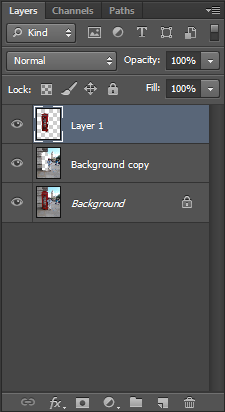
From now on you will only need to work with the bottom layer. All the changes you make you make to it will only show through the space you cut off in the top layer, so long as you keep the latter visible.
Start by desaturating it by going to menu Image > Adjustments > Desaturate
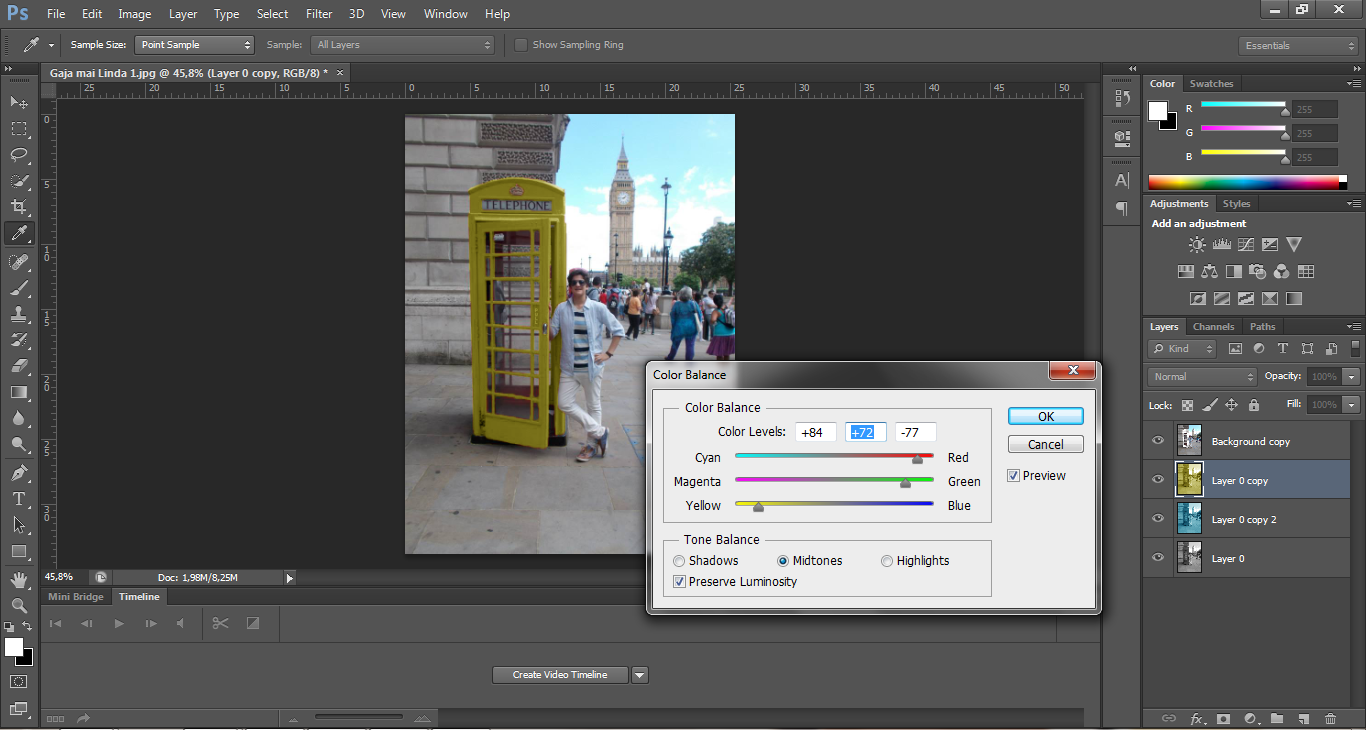
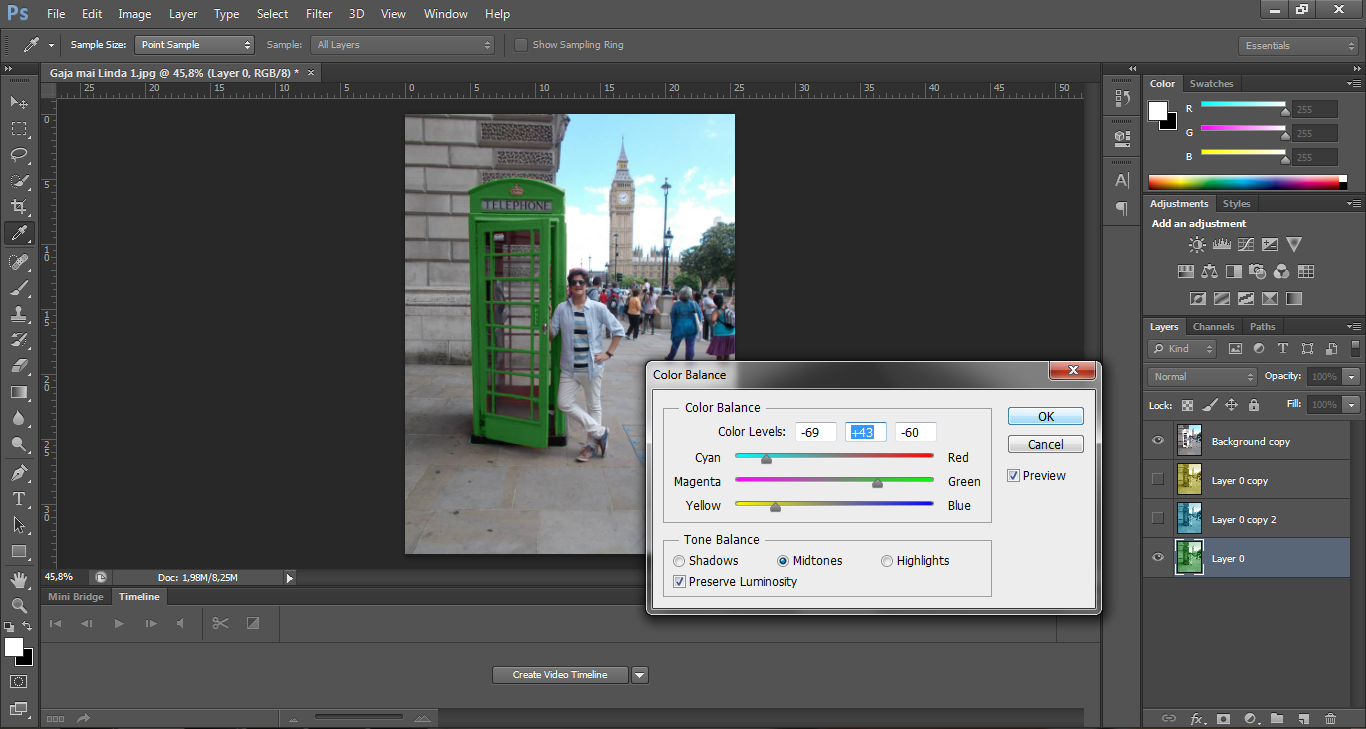
To have more color options, duplicate this black and white layer as many times as needed. Select one of them and start changing the color by going to the menu Image > Adjustments > Color balance... In the dialogue box that will appear you should adjust the amount of each color until you reach the intended one.
Repeat the process for as many times as there are colors you want to have in the end.
When saving for each color, make sure only the top layer and the layer with the color you want are visible.