Start by choosing the image you want to work with. Go to File > Open...
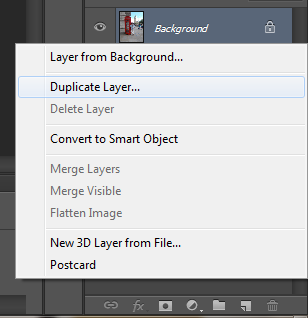
Duplicate your background image by clicking over the layer with your left button and selecting Duplicte layer...
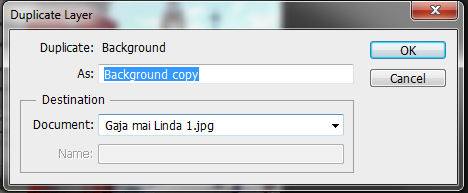
In the dialogue box select OK
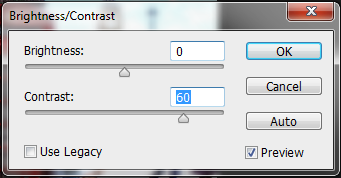
With the purpose of making the selection easier, before you convert your top layer to black and white, increase its contrast as to enable the selection tool to recognize the limits of the objects in the image.
For that, go Image > Adjustments > Brightness/Contrast... The following dialogue box should appear, in which you should drag the pointer to your right.
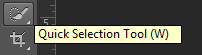
Choose the Quick selection tool from the tool menu and start selecting the object in which you want to keep the color. This process might take a little while, but be patient and make sure the limits of it are well defined.
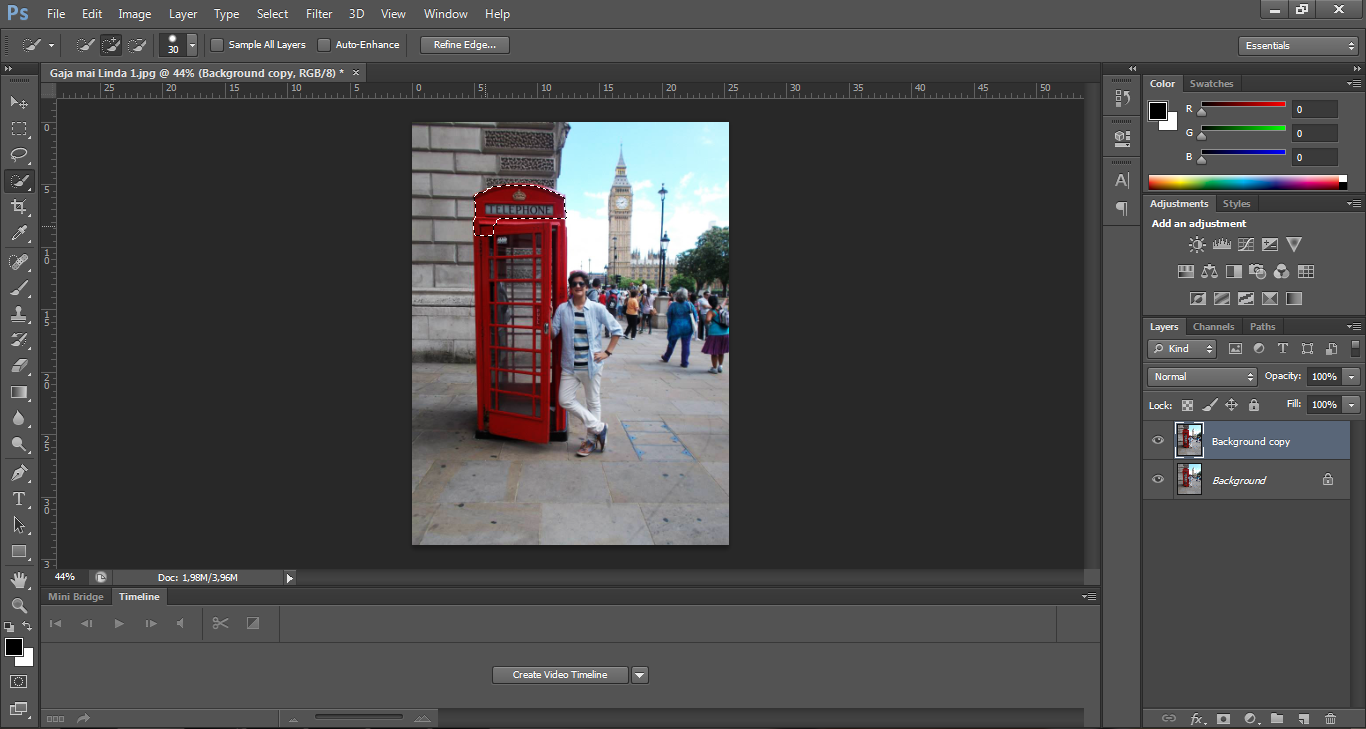
Zoom in and zoom out as you go, to make the selection easier.
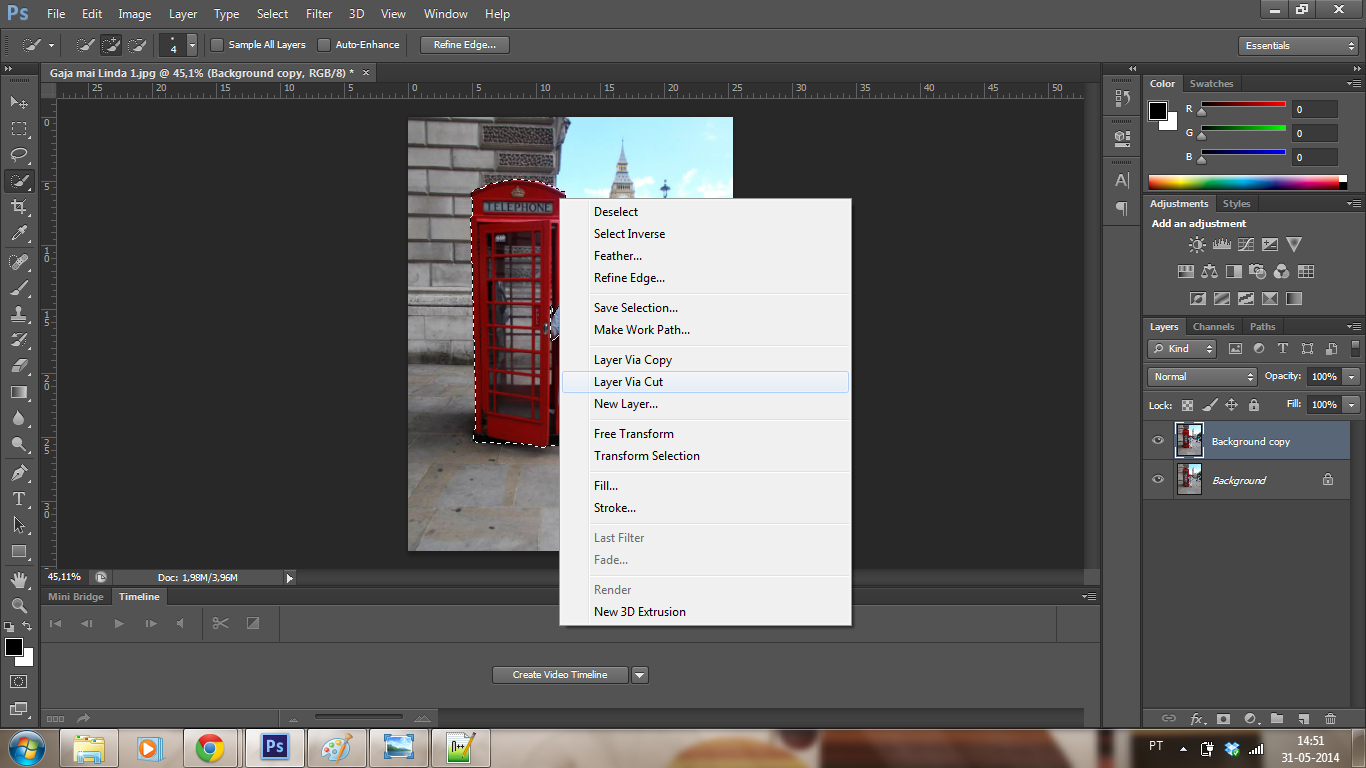
After having your object selected, click over the selection with the left button and choose the "Layer via cut..." opition.
You will be left with an extra layer which you can discard. The image will still appear to have been unaltered.
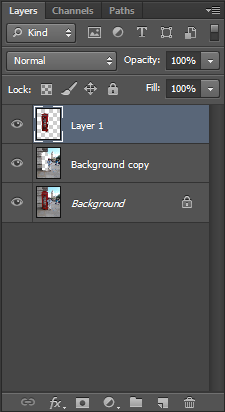
Select the top layer again and go to Image > Adjustments > Black and White... The following dialogue box should appear:
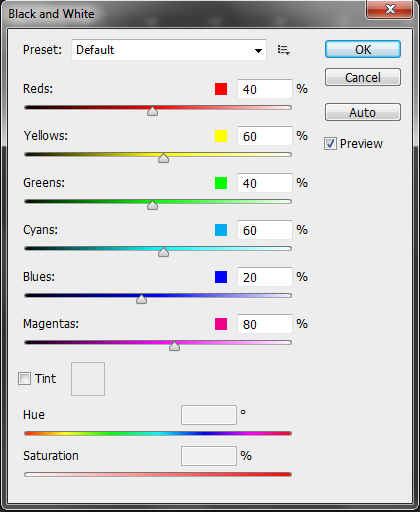
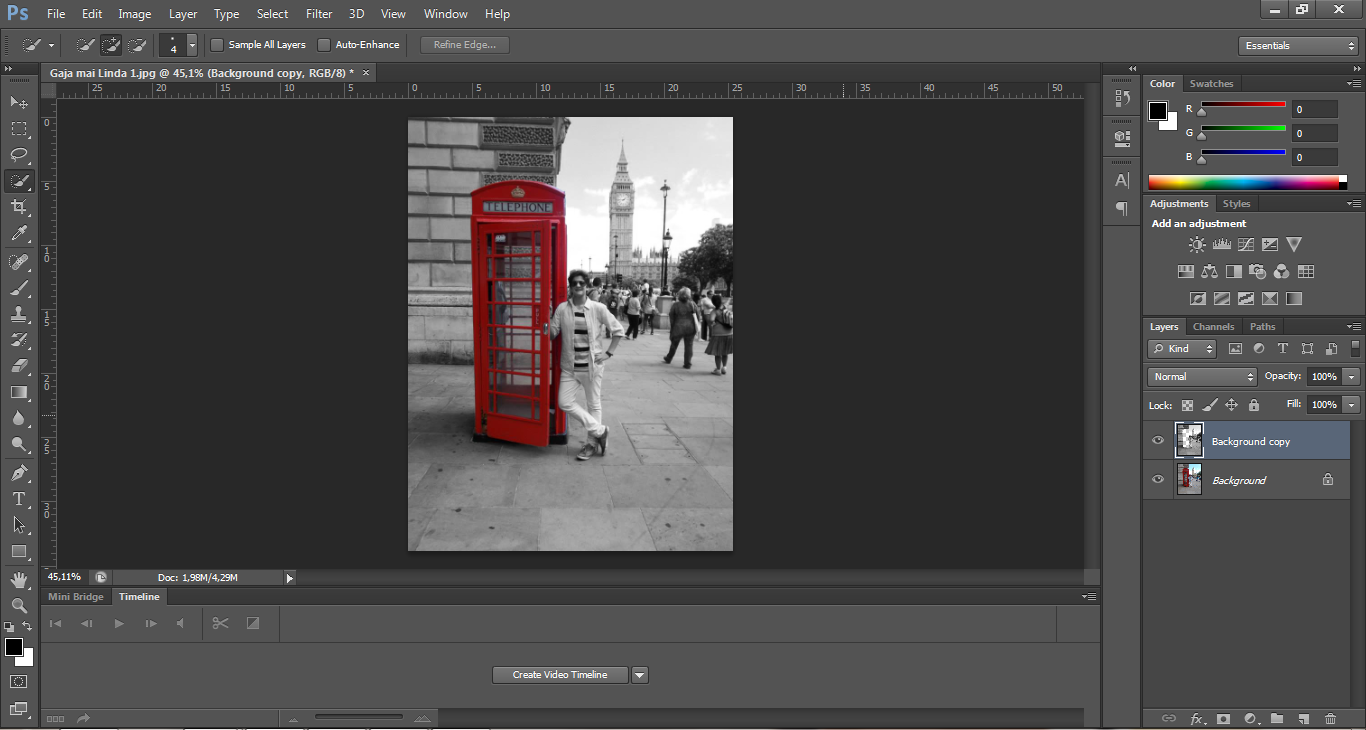
By default, you won't have to make any adjusments if you don't wish to. Just click OK. The ending result should be something like this: